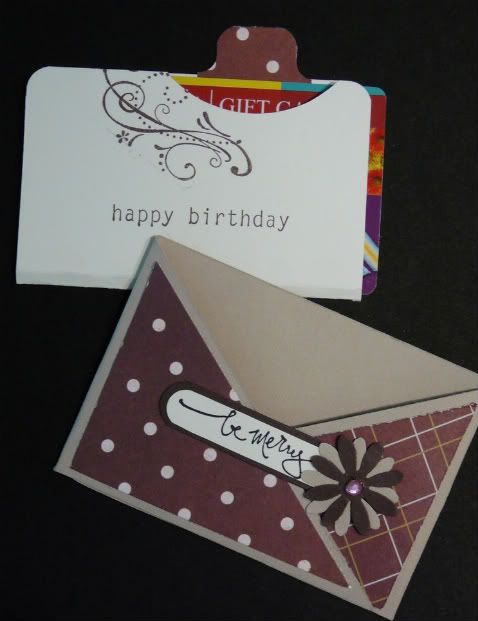
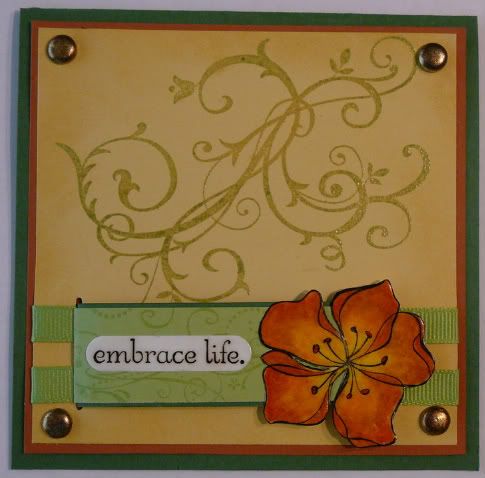
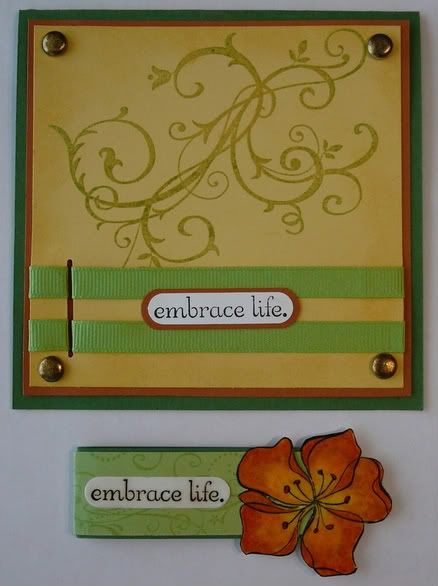
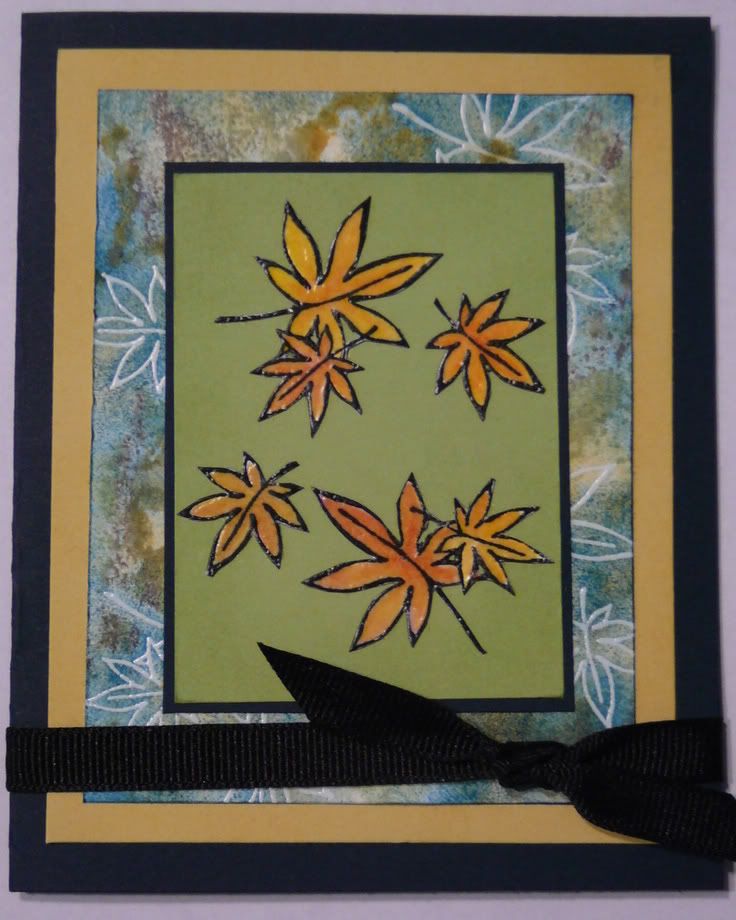
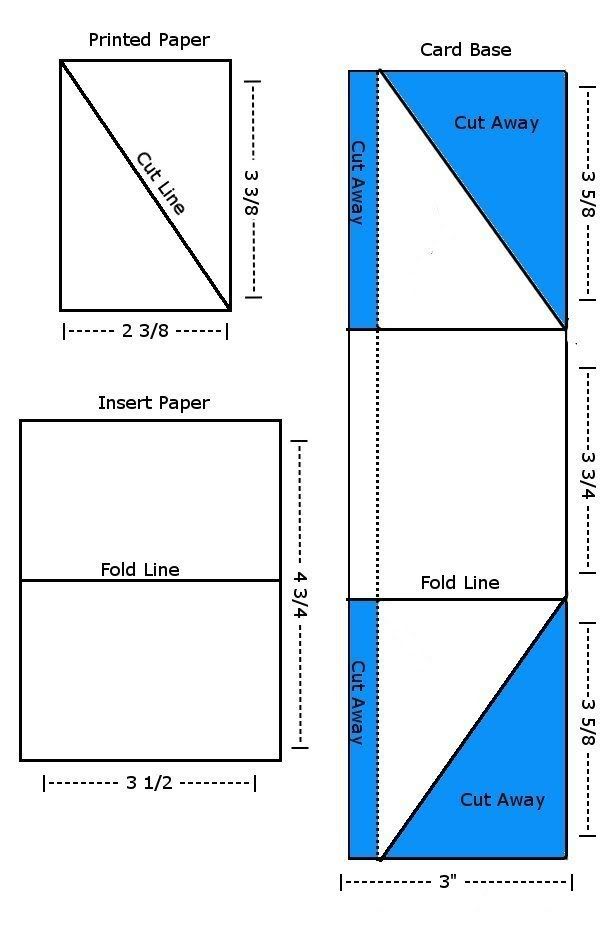
Here is that tutorial I promised you. The green panel and flower of this card are a magnetic bookmark that slides out.

First I will go through the steps to make the bookmark.

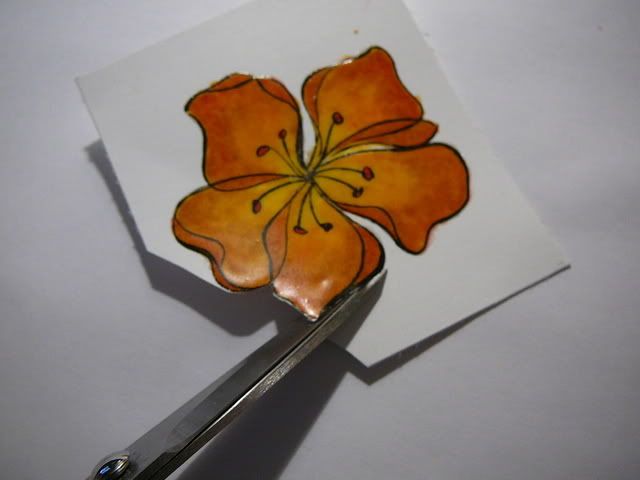
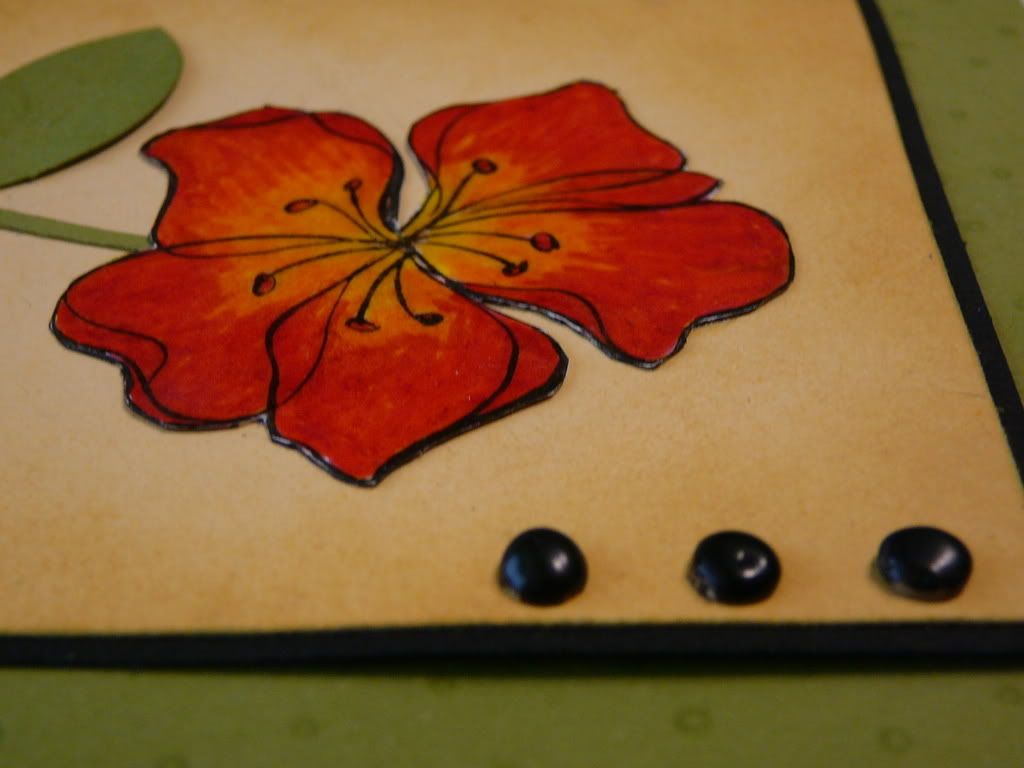
I started with a stamped image of the big flower from Embrace Life (Stampin' Up) and colored that in with a yellow craft marker. Then I went around the outside with an orange craft marker. Next I used water color pencils to blend the colors.

After finishing the coloring, I used a Versa Mark pen over the entire image and then heat embossed it with clear embossing powder. I added a second layer of Versa Mark and embossing powder since this is part of the book mark and needs to hold up to use. Next I cut the image out closely.

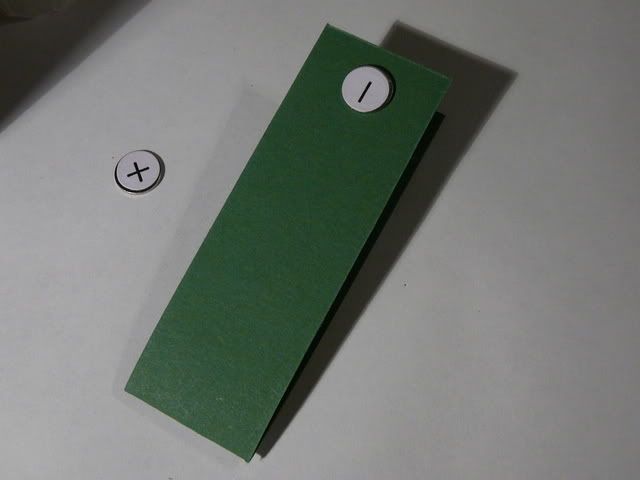
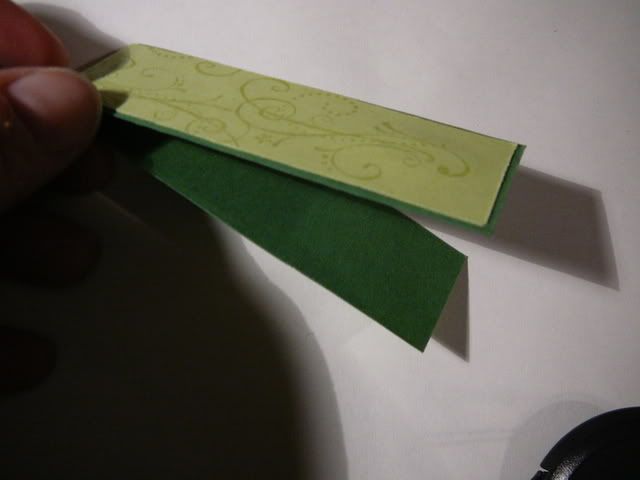
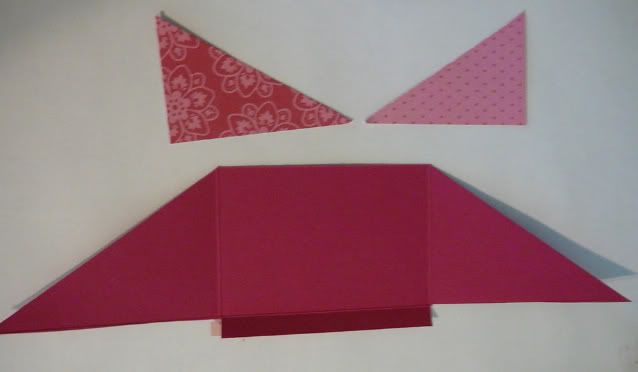
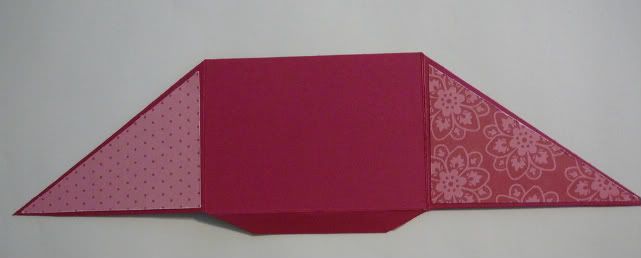
Now cut a strip of Wild Wasabi 6-1/2 by 1-1/8 inches and a strip of Certainly Celery 6-1/2 by 1 inch. They should both be scored and folded in half crosswise. Next adhere a small magnet to one end of the Wild Wasabi and another to the other end. Pay attention to the polarity (positive and negative) of the magnets. They should be attracted to one another when the paper is folder.

Now add the Certainly Celery paper to cover the magnets. I used the swirl stamp from Priceless to decorate it first. The two strips of card stock were cut the same length, but when the Certainly Celery is folded over the Wild Wasabi, it will be a little shorter, creating a nice even 1/16 inch border of Wild Wasabi.
In my sample, this is probably not very important since it is covered with a flower, but if you don't use the flower, those dimensions should work pretty well with most SU card stock. If you use thicker card stock, you may need to play around a bit with the length.

Next, just adhere the flower to one side of the open end of the bookmark.
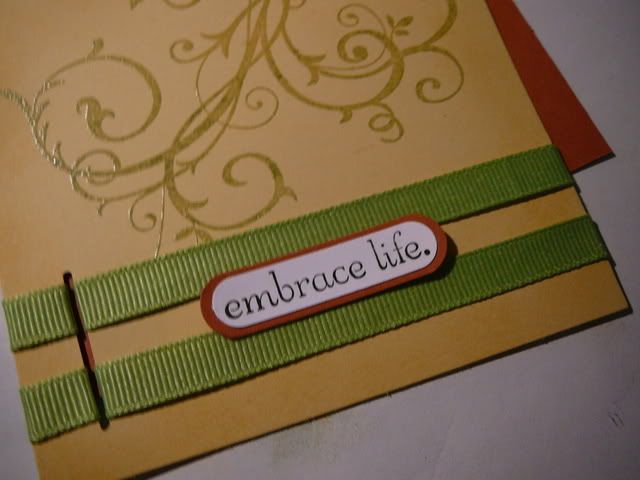
If you would like you can add a sentiment or embellishment. I used the sentiment from embrace life on Whisper White card stock, cut it out with the Word Window punch and then heat embossed it with clear embossing powder.

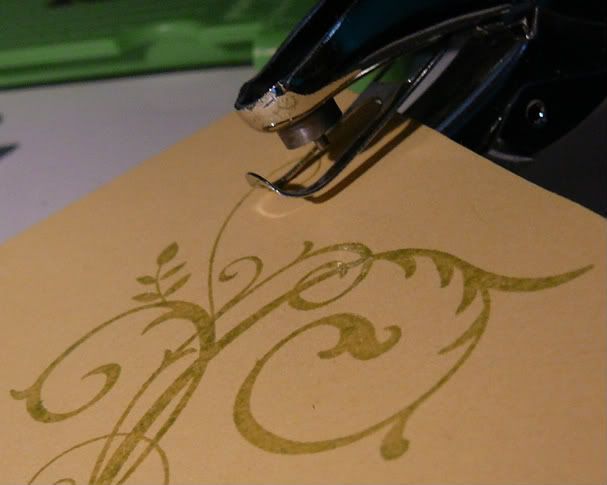
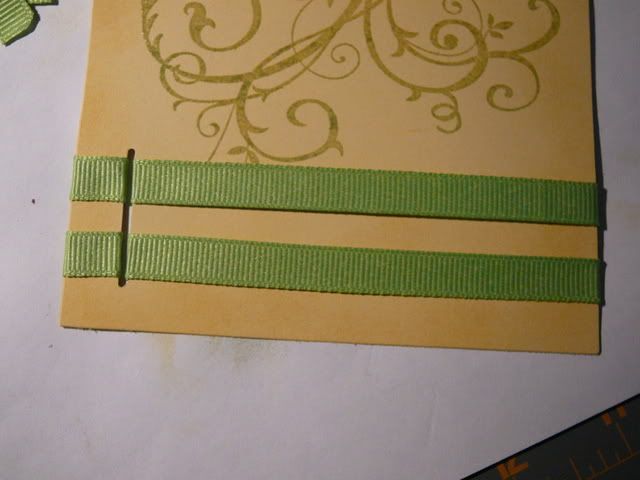
For the card, I cut a piece of 4-1/2 inch square So Saffron card stock. I inked up the background stamp from Baroque Motifs with Versa Mark, then Certainly Celery ink, and heat embossed that with clear embossing powder.

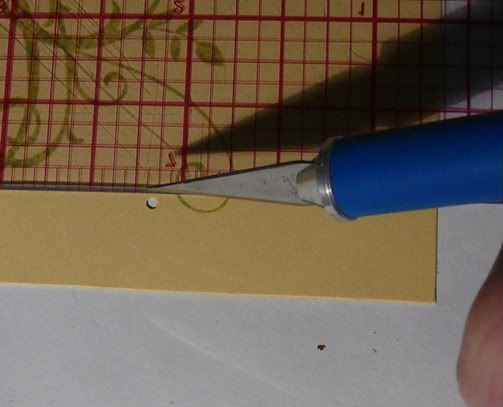
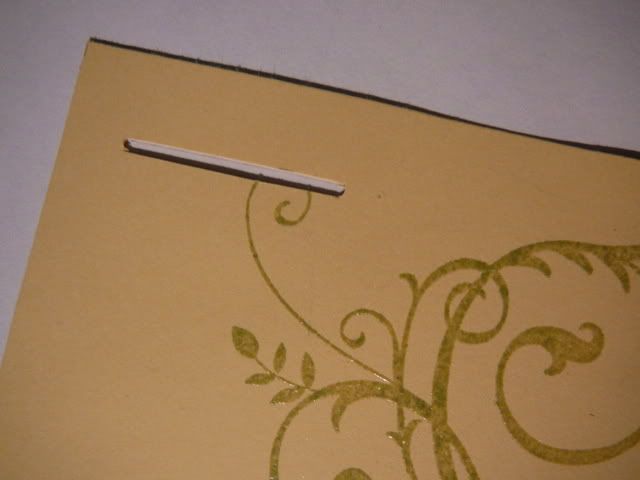
To create the slot for the bookmark to slide into, I used a 1/6 inch hole punch and punched two holes 1/2 inch in from the side and 1-1/4 inch apart.

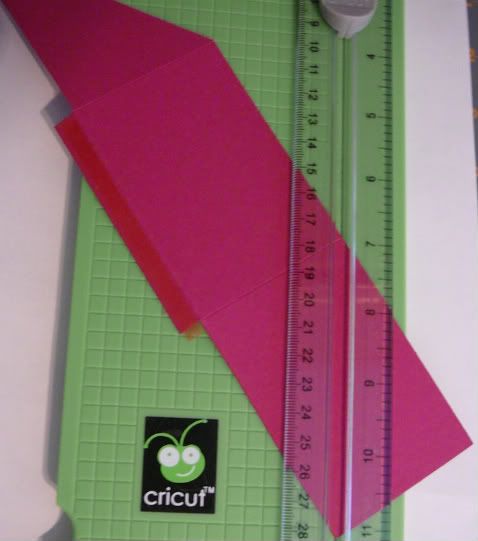
Then I used my craft knife and straight edge to cut out the slot.

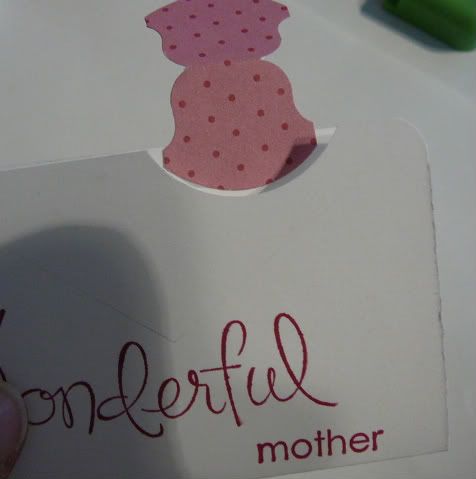
When you are done, it should look something like the photo above. If you have a slot punch, that would probably be easier, but I don't have one yet, so I did it the hard way.

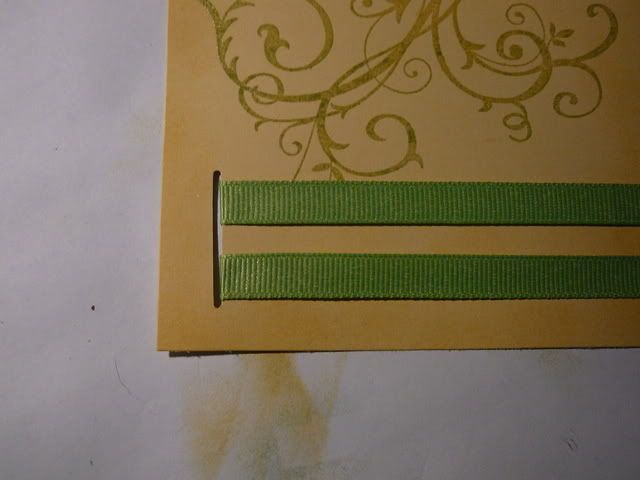
I did some sponging around the So Saffron using ink of the same color. Then, I added two strips of 3/8 inch grosgrain ribbon to the right of the slot.

Then I added two more on the left of the slot.

Another Embrace Life sentiment hides behind where the bookmark sits. This will give the card a bit of a finished look even after the bookmark is removed.

The So Saffron is mounted to a piece of Really Rust card stock. Before you glue down that layer, be sure to put the bookmark in the slot so that you can see where to avoid adding adhesive. If you forget to do this, you may accidentally glue shut the area where the bookmark slides in.

To complete the card, I mounted added brads and mounted the Really Rust on a 5 by 5 inch Wild Wasabi card base.
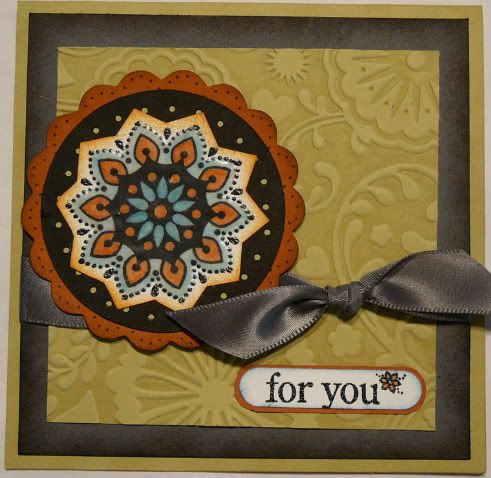
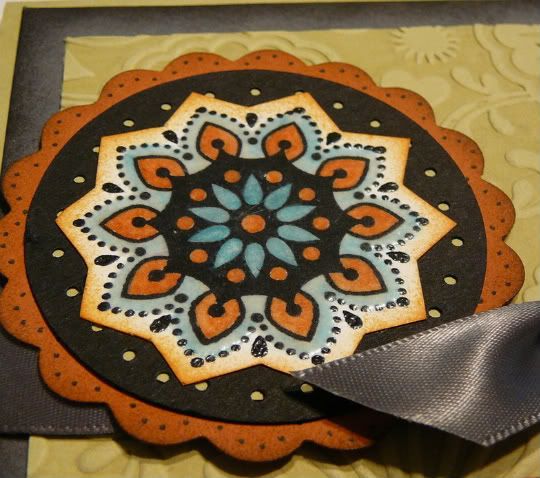
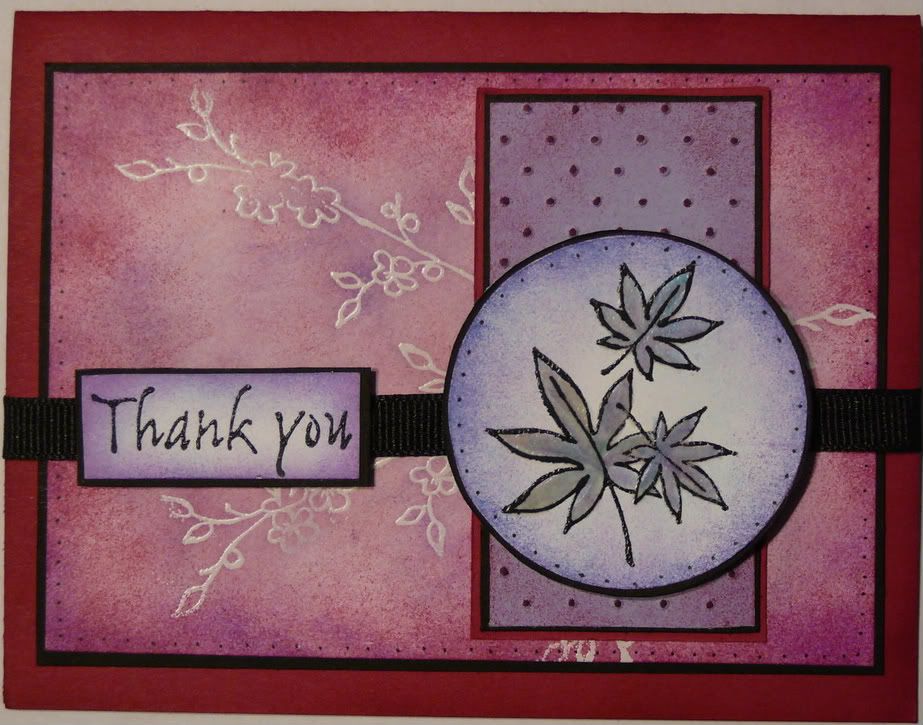
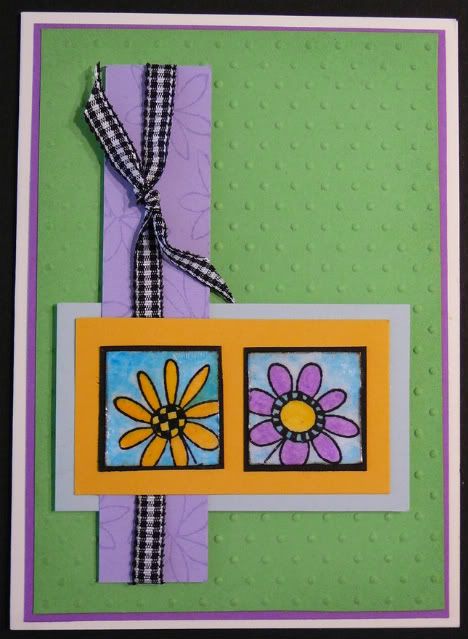
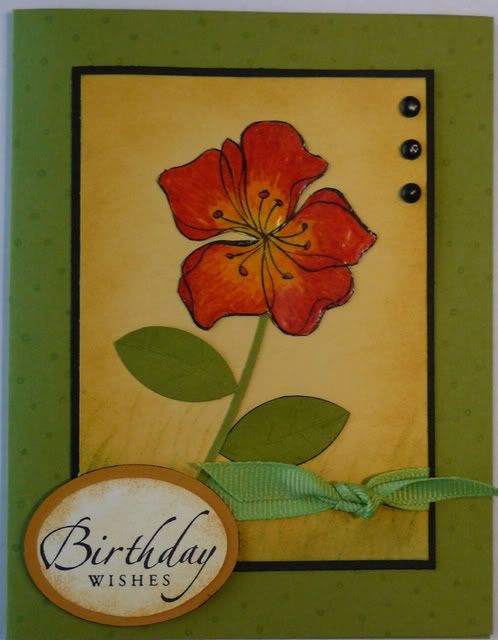
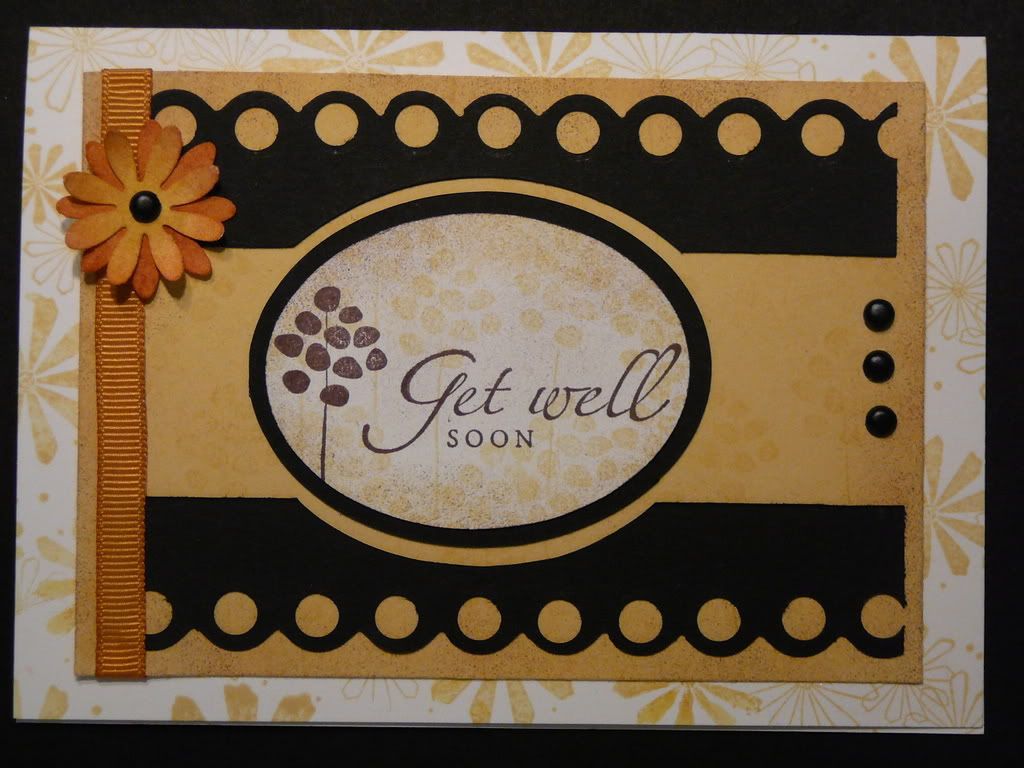
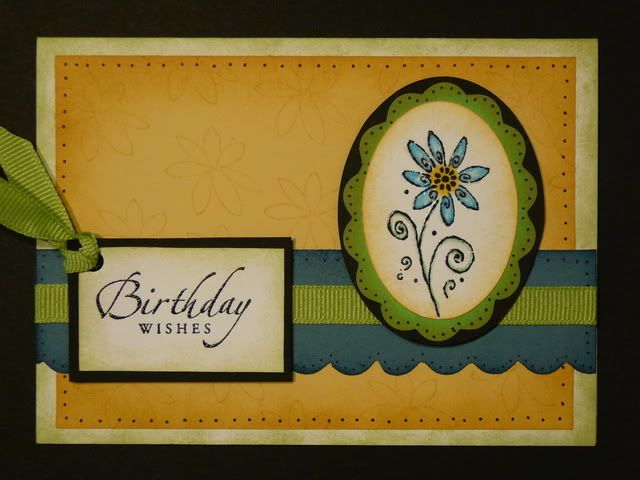 I made this card using the Beate's Weekend Sketch at Fresh and Fun. The main image is from Merci (Stampin' Up) and the greeting is from Sincere Salutations (also Stampin' Up).
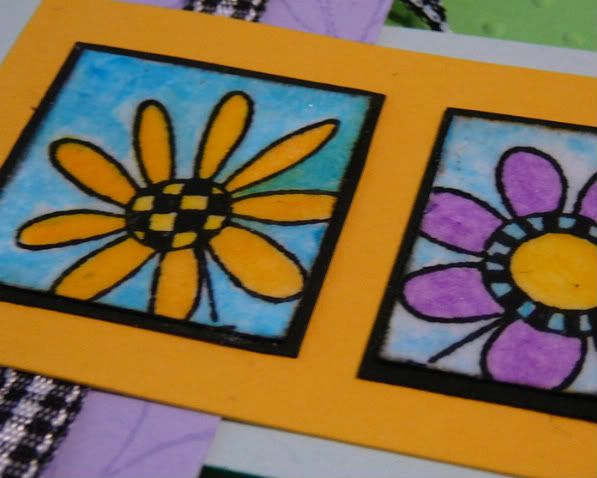
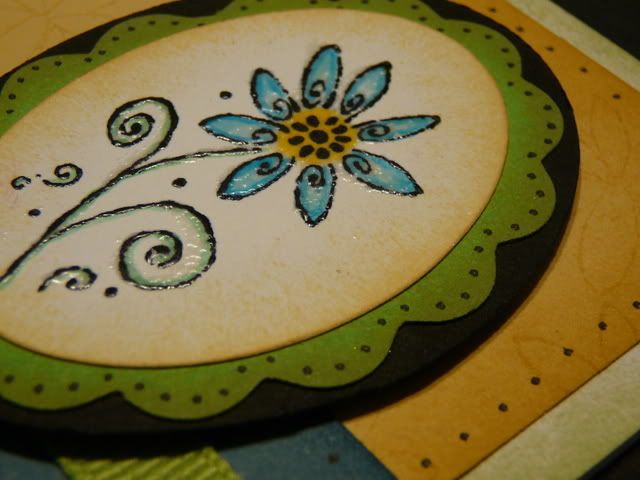 I embossed and used water color pencils for the flower and sponged around the oval with So Saffron ink. To make the green oval, I cut an oval from Certainly Celery card stock and then used my corner rounder to make the scallops. I sponged around the edges with Certainly Celery ink and mounted on a black oval.