Are you interested in increasing traffic to your craft site?
I thought I would share with you some of my best traffic sources to my blog and my website, Cash Crafters. I am not talking about free search engine traffic, which accounts for the majority of my traffic, but rather traffic that comes from referrals or directories.
The absolute best sources of traffic to either of my craft sites is from Google, with Yahoo, MSN and Ask following. Aside from those I have had traffic come from several other sources.
Here is a list of the best sources of traffic for Cash Crafters...
Crafting The Web (This Blog) - My number one traffic source outside of search engines is actually this blog. If you have any kind of craft website or online craft store, you might want to compliment it with a blog. It is a great way to build traffic and connect with your customers.
Craft Pop.com - This is a craft directory that sends a surprising amount of traffic my way. If you haven't submitted to them yet, you might want to.
Soap Making Forum.com - This is just a very active site that I did a link exchange with. Link exchanges really do work if you are selective with who you exchange with.
Craftster - This is a very busy craft message board. Just having a link to my site in my signature brings me loads of traffic. Forums are a good way to bring in traffic, but be sure to add value to the community. Depending on how much time I spend there, Craftster is frequently my number one referral site.
Squidoo - This is a lens I made on Squidoo. Making a lens (or page) is a great way to bring in a bit of targeted traffic and also make a very relevant in link to your site.
EzineArticles - Article submissions to sites like Ezine brings in a steady stream of traffic each month. They also provide relevant in links that search engines love.
My blog brings in traffic from different sources than my website does. Here is the list...
Cash Crafters (My Website) - I intended my blog to compliment my website, but it turns out they compliment each other. Cash Crafters sends nearly as much traffic here as Crafting the Web does there. Talk about win/win.
Blogcatalog.com - This is a blog directory. Submission is free.
Blog Rush Widget - The blog rush widget (you can see it on the right) brings in a surprising amount of traffic, usually between 10-15% of my overall traffic. Blog rush is still in beta, but I think worth the space it takes up for the traffic it generates. They still have a way to go on getting more targeted categories.
Sarah's Texture Crafts - I submitted an article as a guest writer for Sarah's Texture Crafts. It has brought me a fair bit of traffic this month, which I expect to drop off. It was worth the effort however, because even after I stop getting direct traffic from it, it will still be a highly relevant link.
Blogher.com - This is a blog directory specifically for blogs written by women. There is a crafts category and submission is free.
Blogflux.com - Another blog directory with free submission.
Your own traffic sources will vary from day to day, month to month, but as you can see here you can do a lot to boost your traffic by link building through directories, forums, article submissions and link exchanges.
Are you wondering how to track your site's statistics? Google Analytics is a great way to keep track of how your site is doing. Statcounter is another site that can track website statistics, but I haven't tried them yet.
Friday, December 28, 2007
Monday, December 24, 2007
How to Make a Chistmas Centerpiece
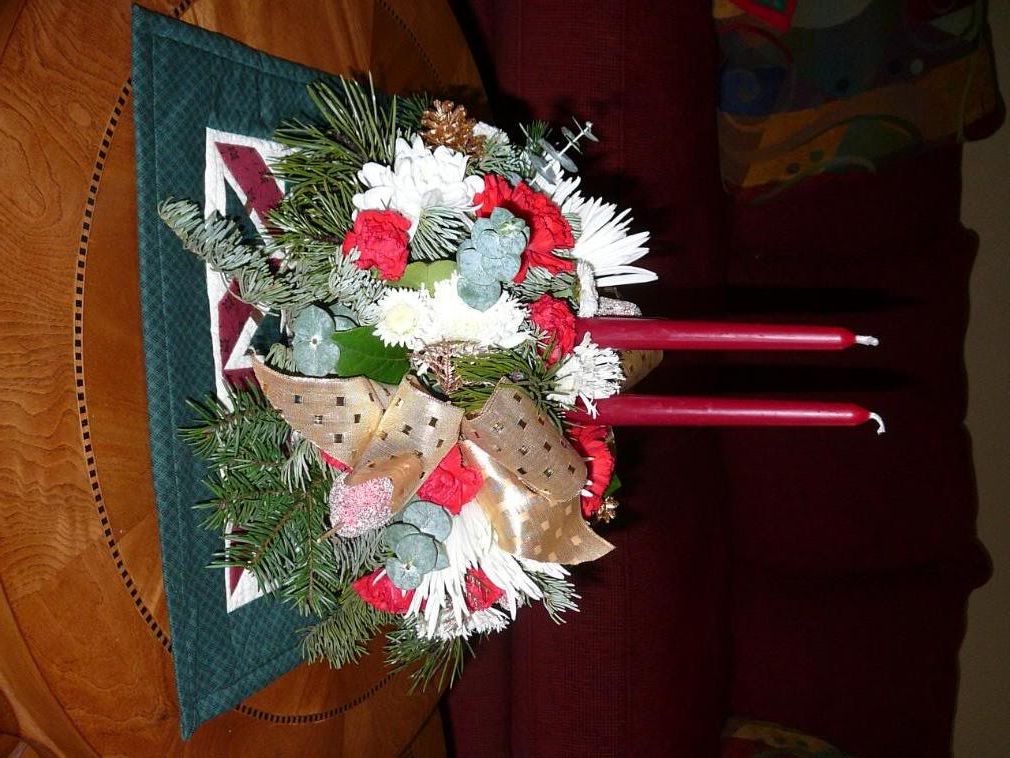 Better late than never, right? I made this centerpiece yesterday and instructions are below.
Soak the wet foam until it is fully saturated. Usually around an hour. Cut it to fit your container, but be sure to have it extent above the container. Use water proof floral tape to attach the foam to the container.

If you want to use tapered candles, they can be pressed down into the foam. Get them in the right position to begin with, because the foam holds whatever shape you give it.

Next start adding your greens. If you are using a plain container like mine, place the greens so that they hang down and disguise the container somewhat.
 Work around the container adding more greens. If you bought a bouquet from the store and it doesn't have enough greens (usually the case), you can use greens from your garden or from trimming the tree.
 Keep working in the greens, using a variety for interest. Doing a good job on your greening will make it much easier to create a successful Christmas centerpiece.
Once your centerpiece is greened, start adding flowers. Place them at different heights and vary the sizes. As you work, keep rotating the centerpiece and work on the whole thing for a more cohesive look. If you work one side and then the other, it's easy to get lopsided.
 You can add a bow or two if you would like. Wired ribbon is the easiest to work with. Just make a few loops and cinch it with floral wire. Then wrap the wire around the floral pick and place in your arrangement.
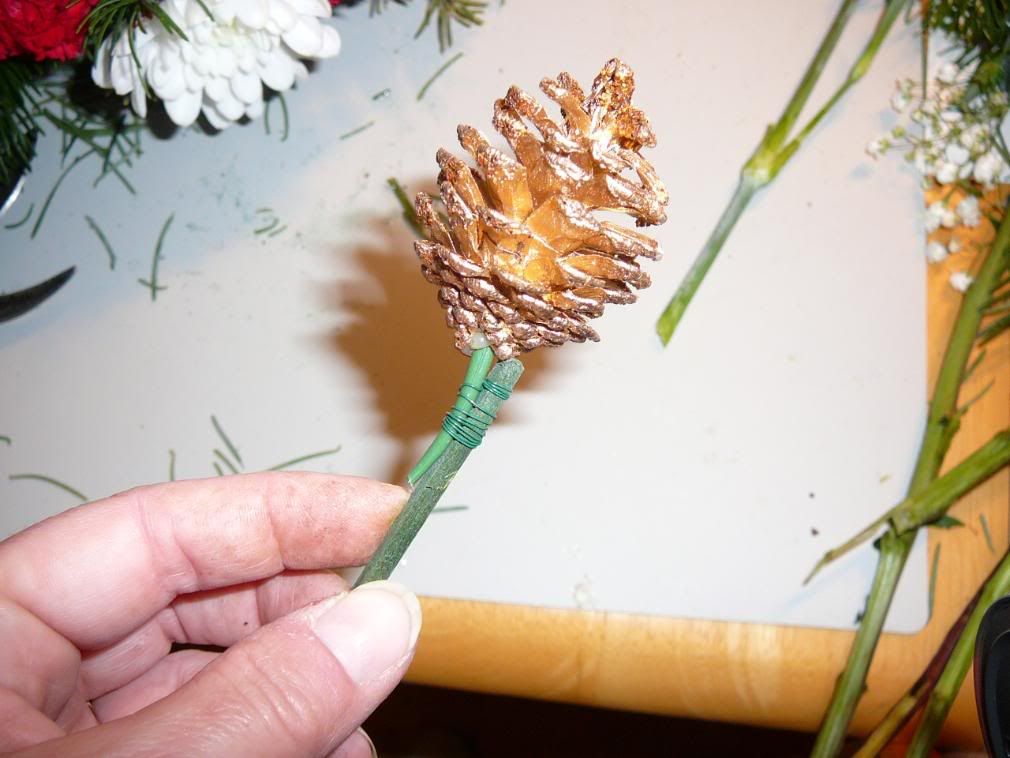 You can do the same thing with pine cones, decorative berries and other embellishments, depending on what look you are going for.
Wednesday, December 19, 2007
Crafty Stocking Stuffers
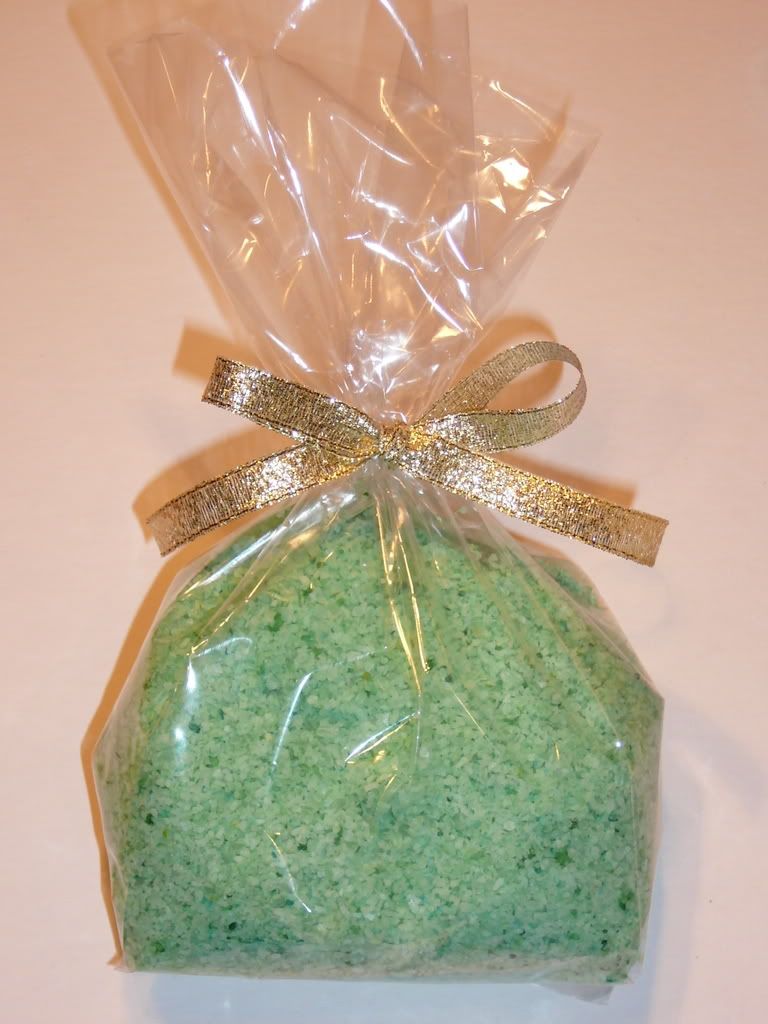
My daughter and I made these bath salts for her to take to friends, but they make great little stocking stuffers. We put about a cup in small cello bags we picked up at Michaels.
Here is the recipe:
1 cup coarse sea salt
1/2 cup Epsom salts
1/2 tsp. glycerin
2-3 drops fragrance oil
(optional - few drops food coloring)
Just mix it all up and you're done. I tied little gold bows around the twist tie to dress it up a bit.

Here is a bookmark I made for my husband. A Liquid Amber tree in our front yard still has some gorgeous leaves. I picked a few and pressed them under a stack of magazines for a few days. Then I ran one through a laminator and trimmed the edges.
This is a very simple example, but if you wanted you could back it with craft paper and add ribbon. To gift wrap the bookmark, I am going to use one of the left over cello bags with a bit of tissue paper.
Great news for anyone thinking of starting a website using Site Build It! They are having a "buy 1 get 1 free" sale.

I love working on my SBI site and haven't regretted it for a minute. If you have any questions about using Site Build It, let me know.
All right, no promises, but I am going to try to do a demo on making a Christmas centerpiece in a day or two. And, dare I say it, it might even be a video. That's only if I can figure it out in time. Otherwise, it's just going to be photos.
Check back around Saturday for that. If you don't see it, that means I didn't get my act together and the table will be bare.
Saturday, December 15, 2007
Free Craft Link Directory

I just created a new craft directory and wanted to let you know it's out there. It is a very simple directory for arts and craft sites only.
If you have a craft website or blog feel free to submit it to Craft Wiki World Directory. If you don't see a category for the subject of you site, just put in a request and I will create a new category.
This wasn't really something I planned to do, but I had a domain name I never got around to developing, so I thought this would be a good use for it. I am hosting it with a free host, so there may be occasional downtimes as is common with free hosts.
Just a few tips for submitting your site to directories:
Use keywords in the title - For example, if your site name is 'Janes Cool Crafts' your could enter that as the title, but if there are keywords you want your site to be found for, go ahead and add them in, like this: 'Janes Cool Crafts - Handmade Tote Bags.'
Make full use of the description box - Different directories have different maximum word amounts, but you should try to use as many words as they allow. This will make the inbound link to your site more relevant.
Consider deeplinking - Deeplinking is linking to a specific page on your site. This is a good way to help a specific page to get spidered and indexed more quickly and can improve page rank for the specific page. Not all directories allow this.
Capitalize on common mispellings - If there are common mispellings or words that may or may not use hyphens, include them in your description.
For a great list of directories you can submit to, visit Strongest Links. This is a very big list of web directories, some of which are paid and some are free.
Site Build It has a great link exchange program I like and they allow non SBI! sites to be included. It's called Value Exchange and although they allow you in, your site may be removed if it is not a high quality site.
Tuesday, December 11, 2007
Stampin Up Ceramic Ornaments
 These ornaments were made by my mom and sister. I'm afraid the pictures don't do them justice. They did them during Thanksgiving week, while I was in Las Vegas, so I didn't get to do any myself. I like them so much, I went out and bought the stuff to do my own.
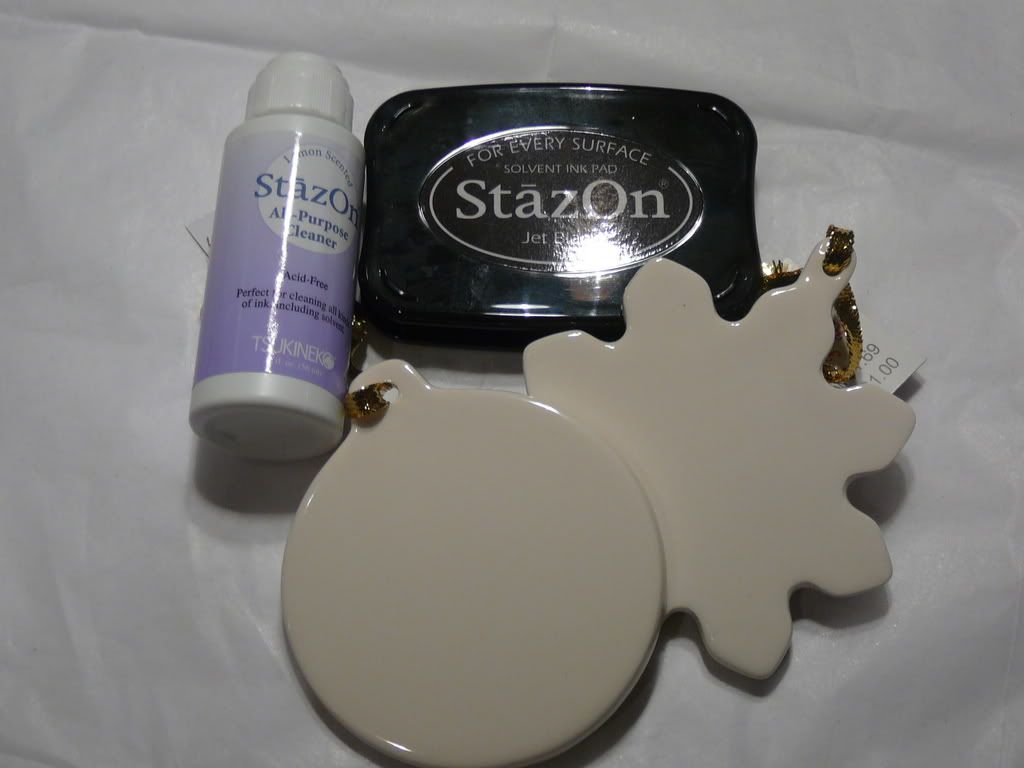
They used StazOn jet black ink to stamp the images. StazOn is a solvent ink that can be used on any surfaces, so be sure to use a good stamp cleaner. I bought the StazOn All Purpose Cleaner which is I think what they used.
The ceramic ornaments were purchased at Michael's for $1 each. The surface is flat and glazed.
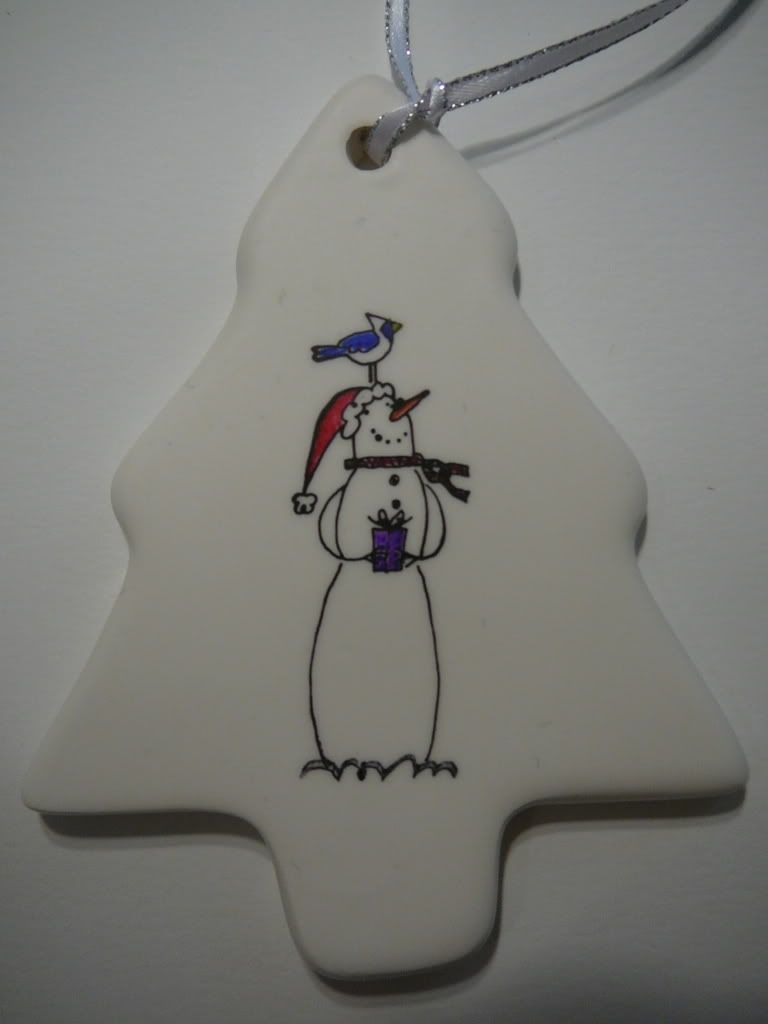 This one is using a one of my mom's new It's Snow Time, Stampin Up stamps. The picture at the top of the post is also from that stamp set.
You have to be careful stamping these because the surface is very slippery. Apparently they had several goof ups, but they wipe clean as long as you do it right away.
After stamping the image, wait at least 5 minute for the ink to dry completely. They use colored Sharpie markers to color in the the images. Then wait a bit longer and spray with a sealer.
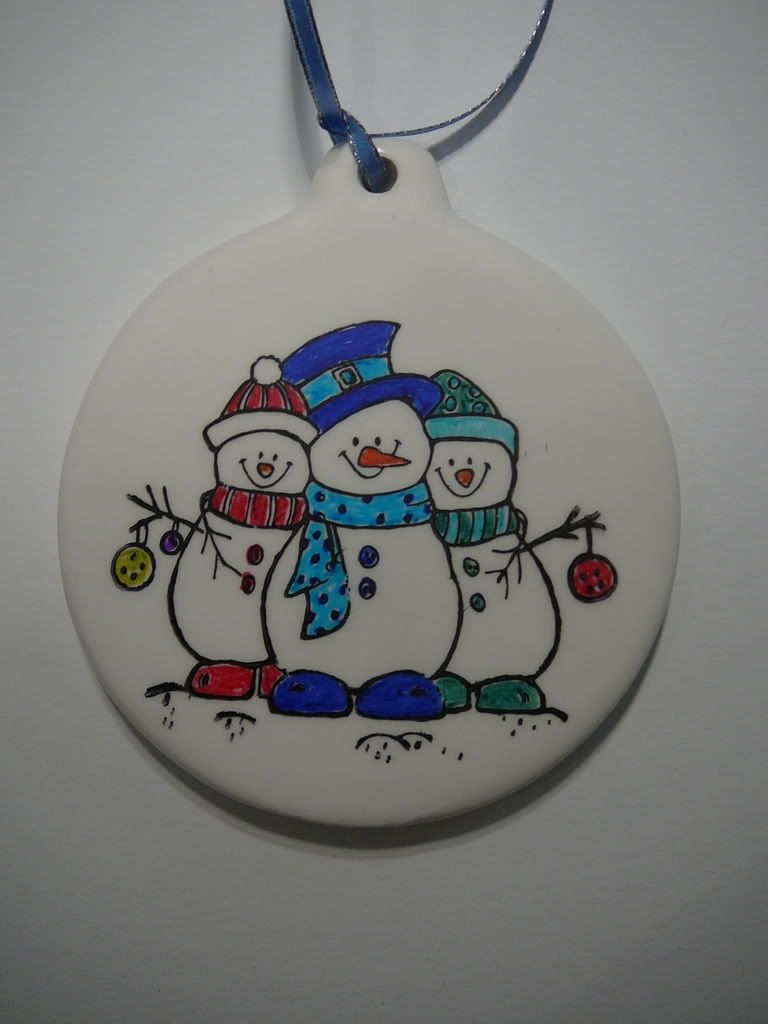
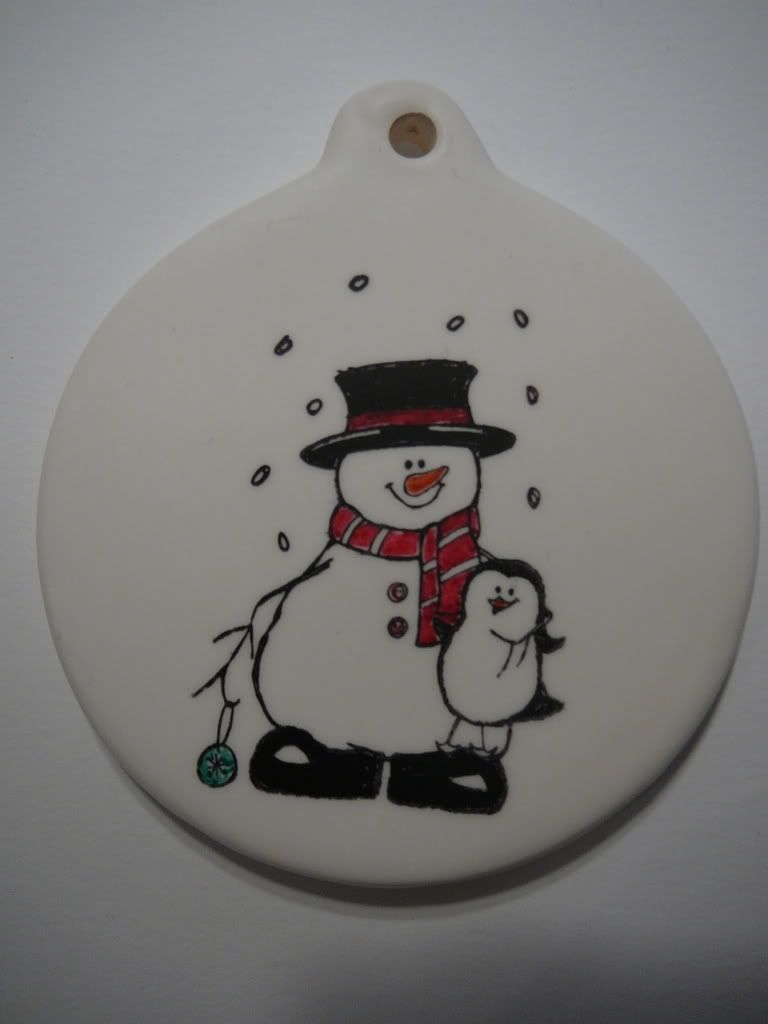
They made several different ones. The ornaments were available in stars, circles, snowflakes and trees.

The back was the perfect place to use a greeting stamp.
These are cute little ornaments that you can personalize with a special message or sign and date, using the Sharpie markers. Now if I could just find the time to do my own.
Monday, December 10, 2007
Xmas Cookie Exchange And Fun Snowman Treat
 I went to a Cookie Exchange Party yesterday at my friend, Lori's house. This was the second year she has done this party and it was a lot of fun. Lori does such a lovely job decorating her house for the holidays and here I am without a decoration up yet.
As you can see by the picture there were a ton of cookies. Everyone brought about six dozen and then we all got several of each kind.
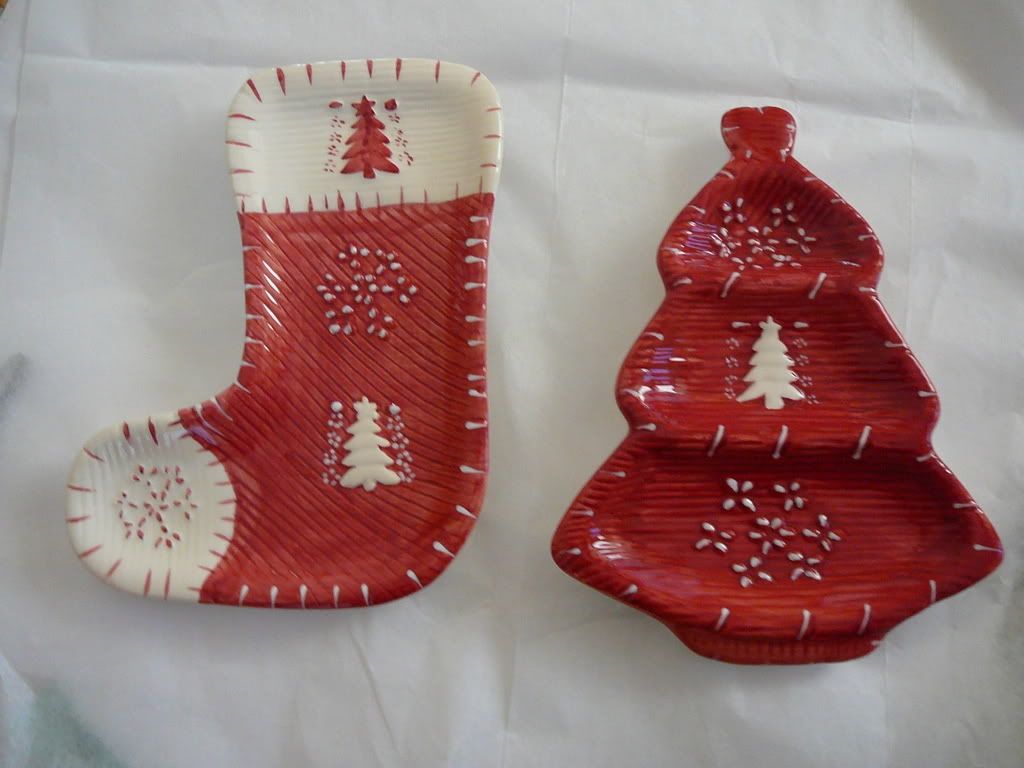 There were games and I actually won one. My prize were these two ceramic xmas candy dishes. So what was the game I won, you ask...
A candy can was suspended on a ribbon and tied around our waists. It was adjusted for each person so that it hung slightly below the opening of an empty water bottle, placed on the floor. The object was to get the candy cane in the bottle without using our hands.
Since it hung below the opening we had to stand on our tiptoes to get it in, all by moving our waists and wiggling this way and that. It made for a pretty entertaining game and we all had a good laugh at ourselves and each other. I am afraid I wiggled and jiggled some parts of me that haven't wiggled and jiggles in a long time.
 One of the things Lori did was put together these cute little recipe books for each of us. All of the recipes of the cookies at the exchange are in the recipe book, so we can re-create any of our favorites.
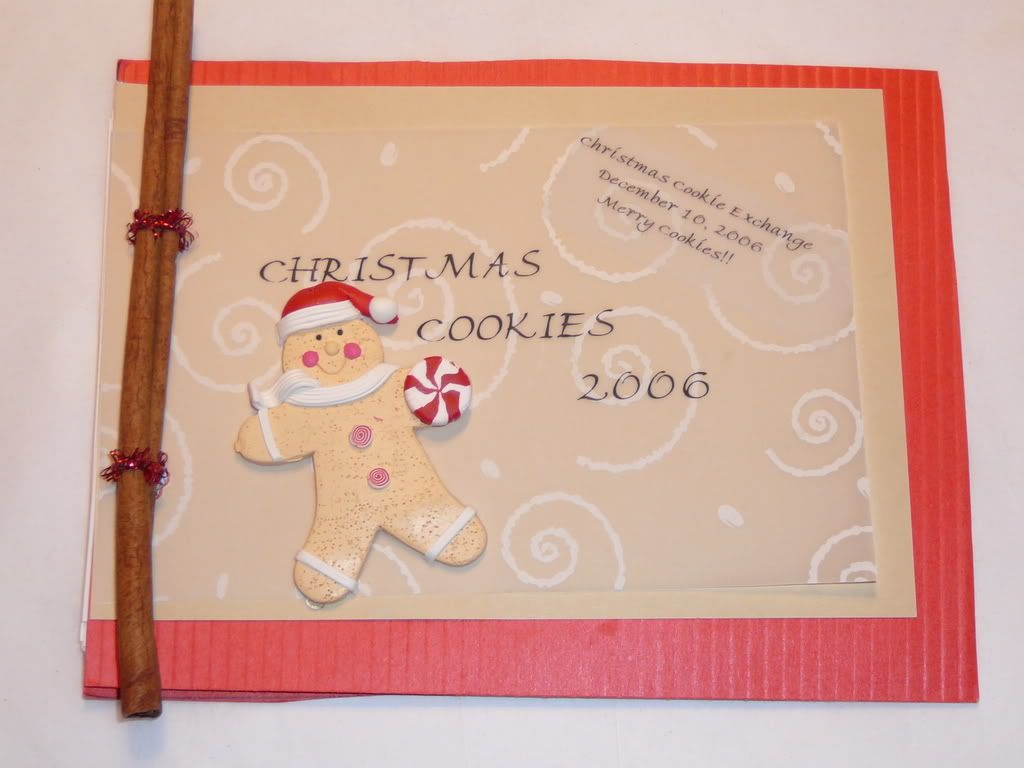 This is the recipe book she put together for last year's exchange. She went to so much work to put these together and do all the work for the party and it was a real success. Thanks, Lori!
 I just had to show you this cute little marshmellow snowman that was in our goodie bags (yes we got goodie bags, Lori doesn't mess around). It's two marshmellows on a wood skewer and dipped in white chocolate. She used little dots of black icing for the eyes, mouth and buttons and orange icing for the nose.
For those of your with young kids, I think this would make a great treat for your child's class party and something they could even help you make. Of course, for children you would want to use pop cycle sticks instead of skewers, or just pull the skewers out. I don't think teachers would appreciate sending the skewers as this could pose a safety issue for children.
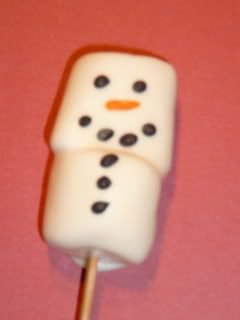 Here is a closer photo, although the photo doesn't do justice to him. It came out a bit blurry.
 Saturday, December 1, 2007
Madtv - Apple I-rack - This is hilarious!
This video is so funny, I just had to share it. I hope you get as big a laugh out of it as I did.
Cheers,
Theresa
Subscribe to:
Posts (Atom)