 Don't worry, this first picture is not what he made. This was my temporary solution. I took a gift box from Michaels and wrapping paper tubes, cut into segments, to create little compartments.
I really like having my markers sorted into color families. I had them all jumbled together at first and it drove me crazy. I thought I would show this so you could see the dramatic difference compared to my new storage.
 Here is the box my husband made for me. I love it!!! There are 16 compartments, measuring 1.75 inches square. Each section will hold 9 markers (sketch) comfortably. So the total storage, if full, would be 144 sketch markers. Right now it is holding all 52 of my markers and several of my glitter and gel pens. Looks like I need more markers!
 Another feature I wanted was a slide out cover for when I transport my markers. I go over to my sister's house a lot so we can stamp together and I want to be able to bring my Copics along. The cover slides in on groves that my DH made.
 The other thing that I wanted was a handle to carry my case. We found this one at the local Ace Hardware store. It will lock into an upright position or lay flat.
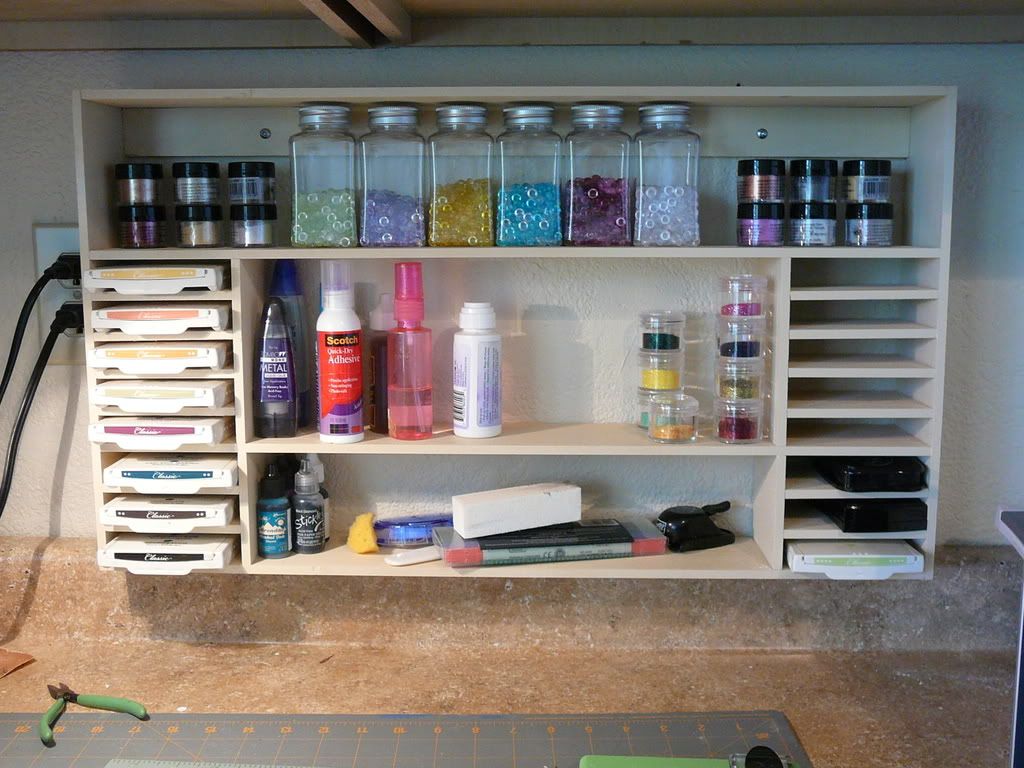
 Here is a look at what my stamping space looked like earlier today, before I got my new Copic storage. As you can see, I need to do more organizing. I don't like all that clutter and this is after I straightened up a bit.
When I first made that little shelving unit, my Scotch Quick Dry Adhesive fit on the middle shelf. Since then, they started making the bottles bigger and it doesn't fit anymore. All my ink pad slots are filled and I have more stacked on top.
I need to get to work building better shelving unit soon. I just placed an SU order for about 6 more ink pads and 21 refill bottles. Eek!
 Here is what that little shelf looked like when I first made it last May. I only had a few ink pads at the time.
On the opposite side of my tiny little craft room is a table that is currently home to boxes of cards and my Gina K stamp sets. You can see I put my larger sets in the new storage cases, but I still need to label them. I am going to put some shelves above this table and arrange all my stamp sets on those. I need to get this table cleaned up so there is a space for my mom and sister when they come to visit.
I am making a serious effort to get organized and will show you pictures
Thanks for looking. Have a happy Sunday!


