 Here is a masculine card I started last night and finished up this morning. I created the background using a combination of sponging and watercoloring, so I snapped off the photos to show you how I did it.
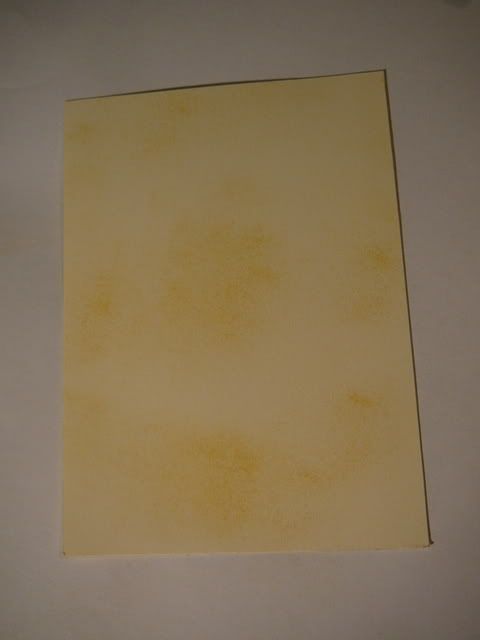 I started with a piece of Very Vanilla paper and sponged it with So Saffron in no real pattern.
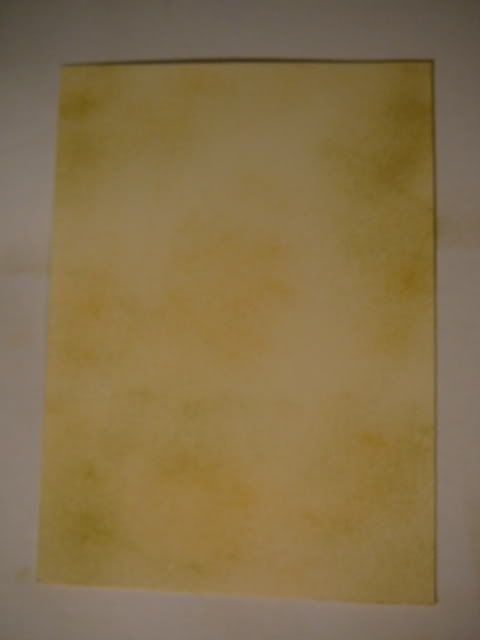 Sponged some River Rock.
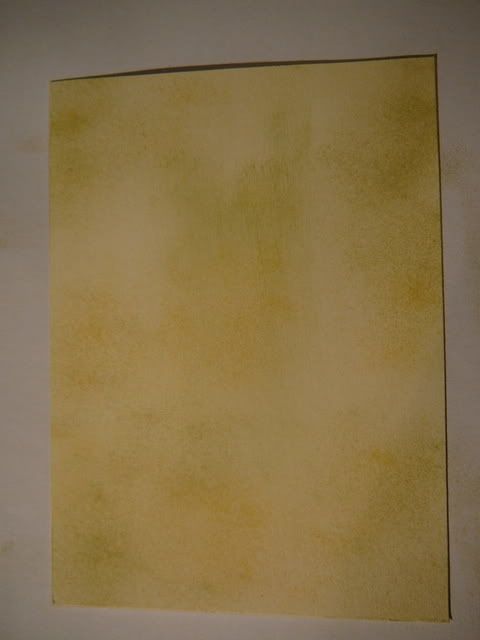 Sponged some Certainly Celery. At this point, I got the idea to do a waterfall scene, so I added bit more to the upper center area.
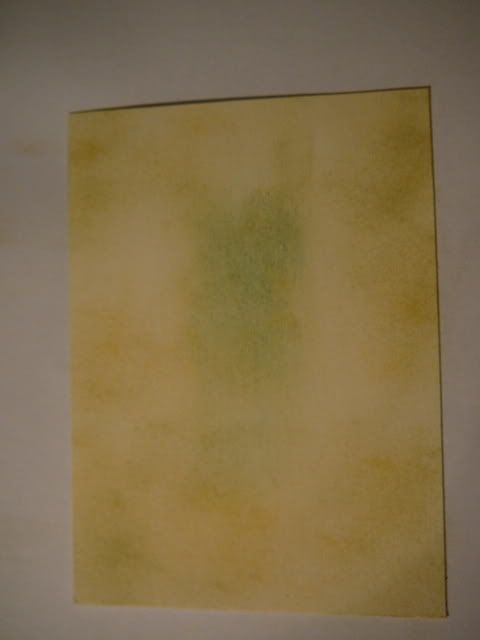 Added a bit of Not Quite Navy, very lightly to the waterfall, still sponging.
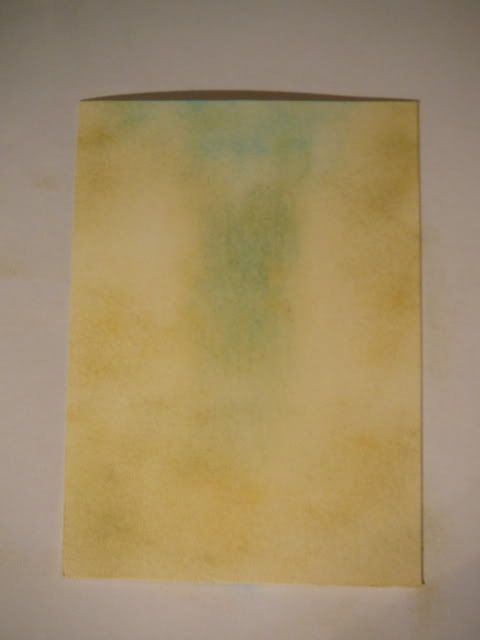 Now I sponged some blue to the waterfall and above it to be the sky.
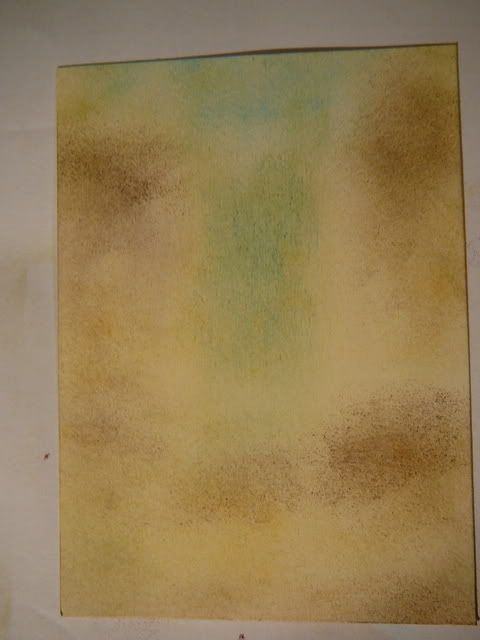 Sponged in some Chocolate Chip to be cliffs on either side of the waterfall and some to the foreground.
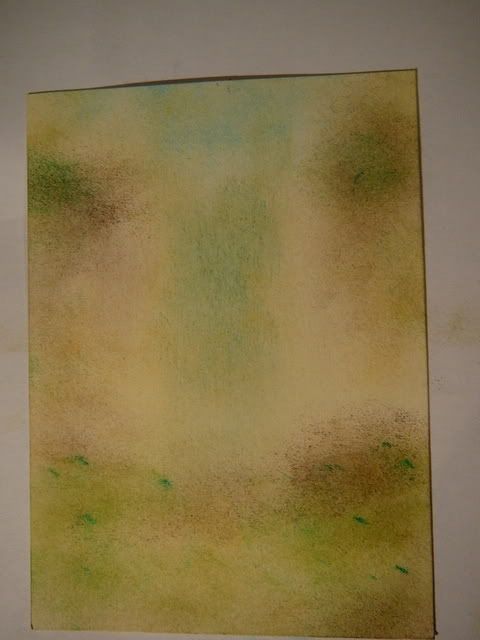 Here I added some Certainly Celery again to the foreground and some darker green in small dabs.
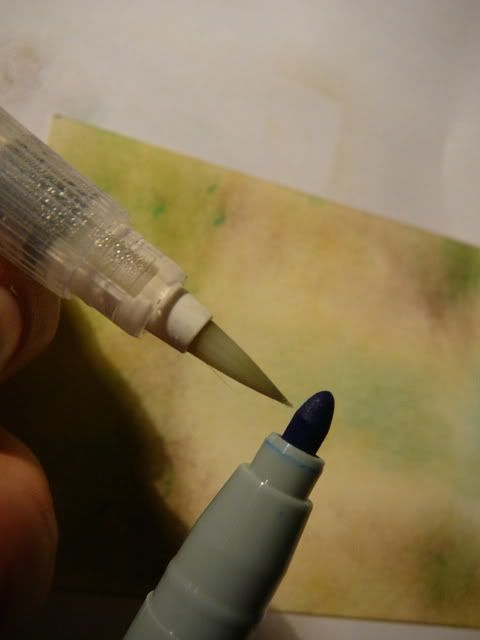 At this point I wanted more detail, so I switched from sponging to picking up color from a craft marker, with my aqua brush.
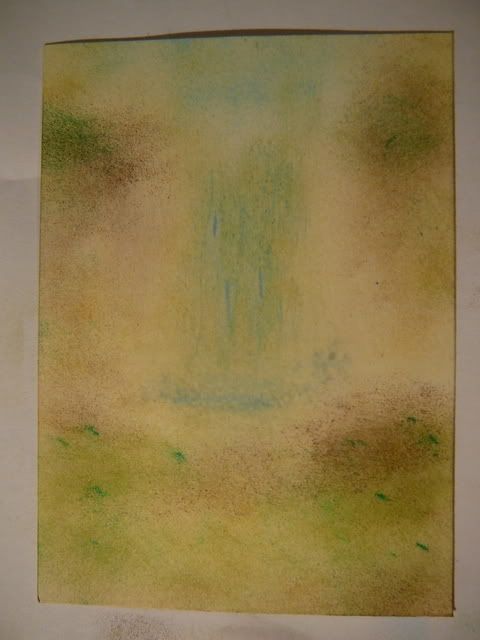 I added some blue streaks to the waterfall and made a small pool of water at the base.
 Still using the aqua brush, I added some more green to the foreground and to the tops of the cliffs to serve as trees.
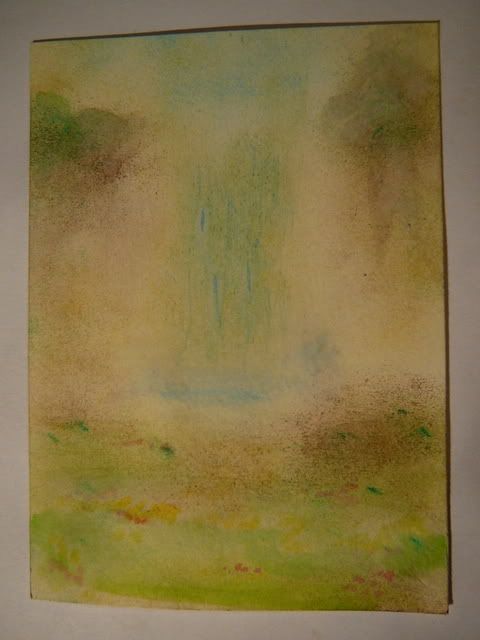 More bits of greens, as well as some yellow and reds in spots to simulate foliage.
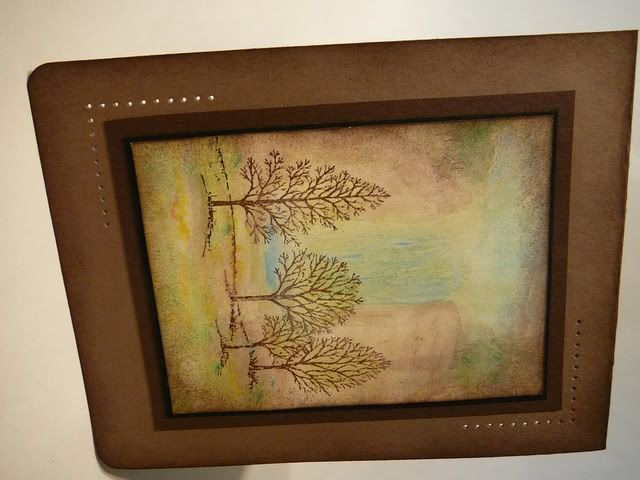
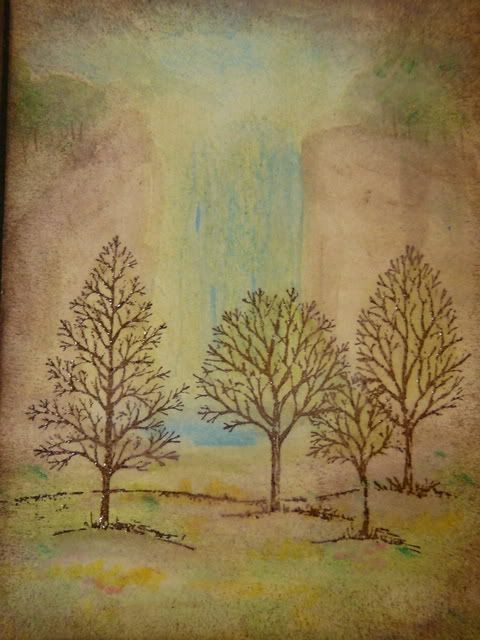 Next I stamped a grouping of trees from Lovely as a Tree (Stampin' Up) in Chocolate Chip and embossed it with clear embossing powder.
I only wanted a portion of this stamp, so I covered the portion I didn't want with tape before inking it and then removed the tape before I stamped it.
 Sponged some Chocolate Chip ink around the edges.
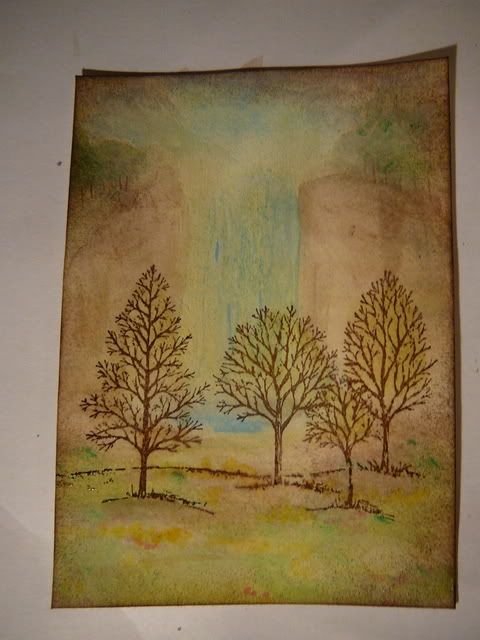 Added a bit more detail with the aqua brush, by painting some faint brown lines on the cliffs to act at tree trunks, some brown to the sides of the cliffs to define them a bit from the waterfall, and added some blue to the pool for a bit more depth.
I mounted the scene on a layer of Basic Black and then a layer of Chocolate Chip. The card base is Close to Cocoa that I sponged the edges of with Chocolate Chip ink.
Thanks for stopping by today. I hope you have a fantastic day!
10 comments:
Beautiful scene creation. Beautiful details too.
A tad bit more dark color on the edges of the stones for more definition? It could be the photograph.
Easier said than done right?
This is simply awesome. I wouldn't know where to start with something like this. You make it look so easy.
Oh.........AMAZING!!!!! Such a gorgeous bg!!!! And an awesome masculine card!!
That is beautiful.
That is absolutely fabulous! I had a lot of fun going through the steps with you and watching the scene develop :)
Thankyou for sharing :)
Very beautiful!! Loved your step by step instructions!!
WoWzA, Theresa, this is amazing!!! And you make it sound sooooo easy, lolol! Ah ha, but I know better ... great job!
Re: the mask I used on today's resist project ... it's a Heidi Swapp mini-mask, "Bird." I've had mine for awhile and don't recall exactly where I got it but I want to say eBay. So I will: "eBay!"
TFS; you know you rock!
~Hugs, Deb
Wow! Great job. This is way above my skill level, but you make it look easy (and gorgeous)!
This is my first visit to your blog (linked here after checking out your SC187 card on SCS) and on exploring your site found this absolutely stunning card! Thanks for the tutorial! I'll be returning again.
this tute is very explicit and just stunning in the end. Thanks for sharing your talents with so many!
Debi Nicol at yahoo dot com
Post a Comment